Advanced Carving Techniques: Bridging the Gap from Intermediate to Expert
Advanced Carving Techniques: Bridging the Gap from Intermediate to Expert
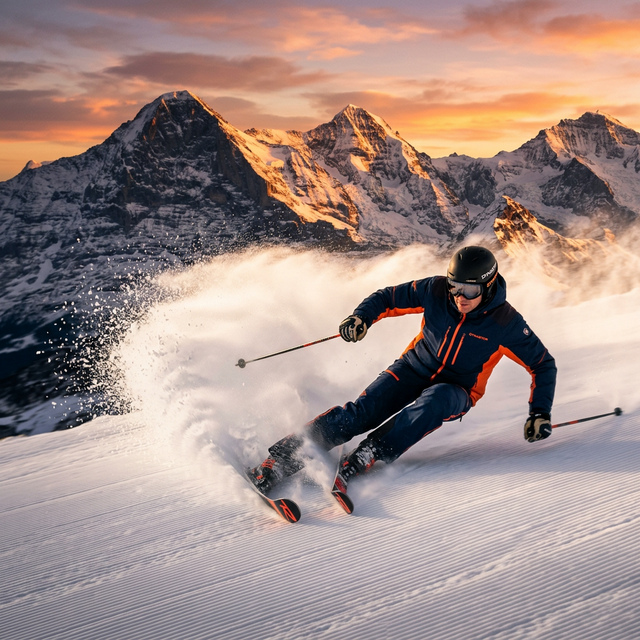
Every skier hits “the plateau.” You can comfortably navigate most red and blue runs (or blue squares/black diamonds in North America), but your turns feel skidded rather than carved. You want the feeling of being locked on rails, G-forces pushing you into the snow as you rip across the piste.
In 2026, carving correctly is as much about stance and pressure as it is about the equipment you use. Here’s a breakdown of advanced carving methods.
The Core Concept: Early Edge Engagement
Most intermediates initiate a turn by throwing their shoulders, pivoting their skis flat on the snow, skidding until they lose speed, and then briefly rolling them onto their edges at the very end of the arc.
Expert Carvers Do The Opposite:
- Roll the Ankles First: The turn begins long before you pass the apex. As you finish your last turn, immediately roll your ankles inside your stiff boots to shift the skis onto their new edges.
- Commit Your Weight Early: The skis must bite into the snow while you’re still high in the arc. Once the tip engages, the sidecut of the ski will pull you smoothly through the turn.
1. Angulation: Creating High Edge Angles
The problem with creating high edge angles (the angle between your ski base and the snow) is gravity. Lean too far inside the turn, and if the edge loses grip on an icy patch, you hip-check instantly.
The Solution: Counter-Balancing
To carve deeply without falling, you must “angulate.” This means folding your body into a “C” shape.
- The Motion: Drive your hips and knees into the center of the turn (towards the snow). At the same time, keep your upper body upright and shoulders relatively level to the horizon.
- Why It Works: This counteracts centrifugal force while keeping the bulk of your body weight centered forcefully straight down over your outside ski edge, guaranteeing massive grip on ice.
- Visual Check: Look far down the fall line, not at your ski tips. Keep your hands wide and driving down the hill.

2. Fore-Aft Balance: Driving the Shovels
Most intermediate skiers spend far too much time sitting “backseat”—leaning heavily on their heels and the tails of their skis. This renders the wide front tips (the “shovels”) of the ski completely useless.
- Tip Pressure: You must actively push your shins hard against the front tongues of your ski boots throughout the entire turn.
- Engaging the Sidecut: By pressing fully on the front of the ski, the wide tip bends and bites into the snow, drawing you smoothly across the fall line. If you feel your calves pressing the back of your boot, you are skidding, not carving.
3. Retraction and Transition
Advanced carving relies heavily on a dynamic transition between edges.
- Sinking, Not Popping: Intermediates often pop up violently between turns to unload their skis. Advanced carvers “retract” or pull their knees up to their chests during the transition, allowing the skis to snap under their body mass like a spring.
- Quiet Upper Body: Your legs should be doing 95% of the work. Imagine your upper body is suspended on a track going straight down the mountain while your legs act as pistons firing left and right beneath you.